
The 6 Best Food Dehydrator Recommendations 2025
Dehydrated garnishes have long been a popular way to decorate cocktails and infuse flavour into gin and tonics, both in a professional bar setting and home setting. And dehydrated food has long made a shelf stable and delicious snack.
Here is my full guide on how to use a dehydrator and what the 6 best rated and top food dehydrator recommendations are for 2025
Dehydrating basics
Dehydration is the process of drying out a substance or removing the water from a substance. This technique can be used for many reasons.
One being the food you dehydrate will preserve much longer which is great for the sustainable minded bartender. Something I covered in my 11 tips to sustainable bartending. A lot of bacteria needs moister to reproduce so by taking that moister out, you prevent any bacteria forming on the dried out food.
The Romans were the first record of how dried food can be useful, the roman soldiers had a ration of biscuits (not quite Mcvities) and these biscuits could last months without perishing. These dried food and substances are all around you, from leather to nuts, all of them have a drying stage, even your chocolate goes through a dehydration process.
There are a few ways to dehydrate foods from the comfort of your own home. You can buy yourself a dehydrator which is by far the easiest and most effective way.
If you live in a hot climate you can use the sun to dry out foods but this may lead to bacteria growth during the drying stage. If you don’t want a dehydrator and you live in a cold rainy place like Manchester, then you could use your oven, which works great but has its downfalls.
What to dehydrate and how to use them
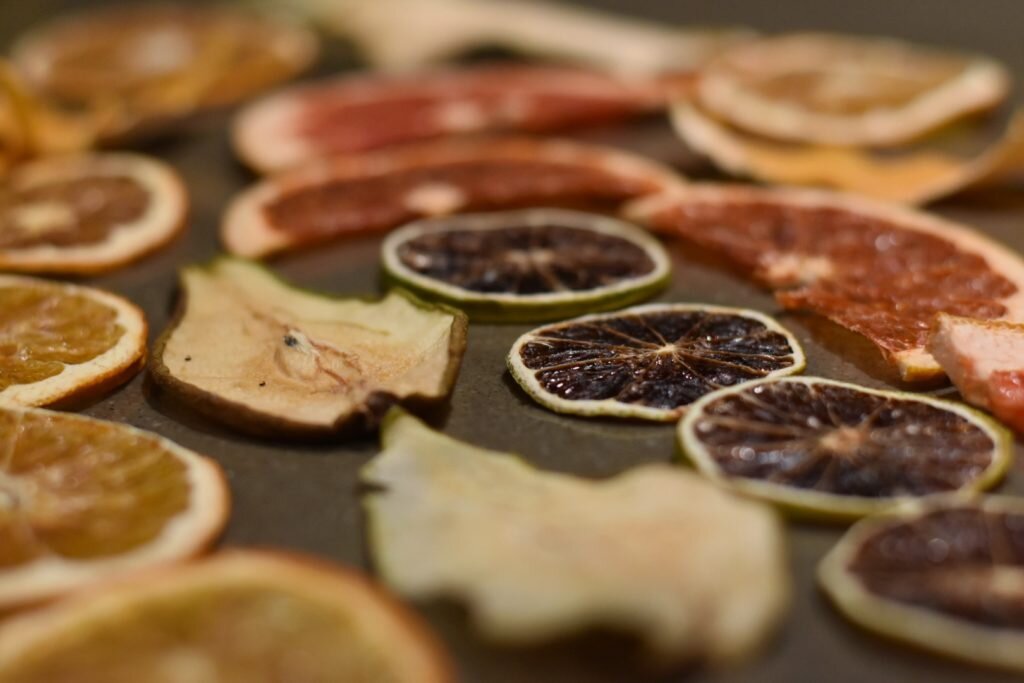
Fruit wheels
Fruit wheels are easily the most popular way to use a dehydrator. Once you cut into a piece of fruit it instantly starts to perish, by drying it out you extend that shelf life for months, even years if stored correctly.
Not only do dehydrated fruit wheels look amazing but they have a functionality in the way that when you dry out the moisture, it intensifies the flavour. For example, dropping a dehydrated orange wheel into a gin and tonic will instantly start to rehydrate in the drink and release oodles of orange flavour.
They are also light weight, making them perfect to sit on top of a cocktail foam.
Powders
Creating powders is a great way to get creative with cocktails. Rimming cocktail glasses or dusting foams is a perfect way to add an extra level of intense flavour whilst creating something that looks eye-catching.
To do this, dehydrate whatever herbs or fruits you want to powder. Once they are fully dried out blend them into a powder. You can also blend them with salt to make flavoured salt, or sugar to make flavour infused sugar. Just think, a lime salt on that next margarita or a raspberry sugar topping your next clover club. All easily done with the help of a good dehydrator.
Edible leather
A less popular but great technique, for this, blend different fruits, liquids or herbs into a puree. You can stick with one flavour or combine different ingredients to create a flavour packed puree. Pour that puree out onto a piece of parchment paper and put that in your dehydrator to dry out. Once it dries it will retain a shape that looks and feels almost like leather, with intense flavours and completely edible.
Best dehydrators to buy
#1 Budget plastic lid dehydrator
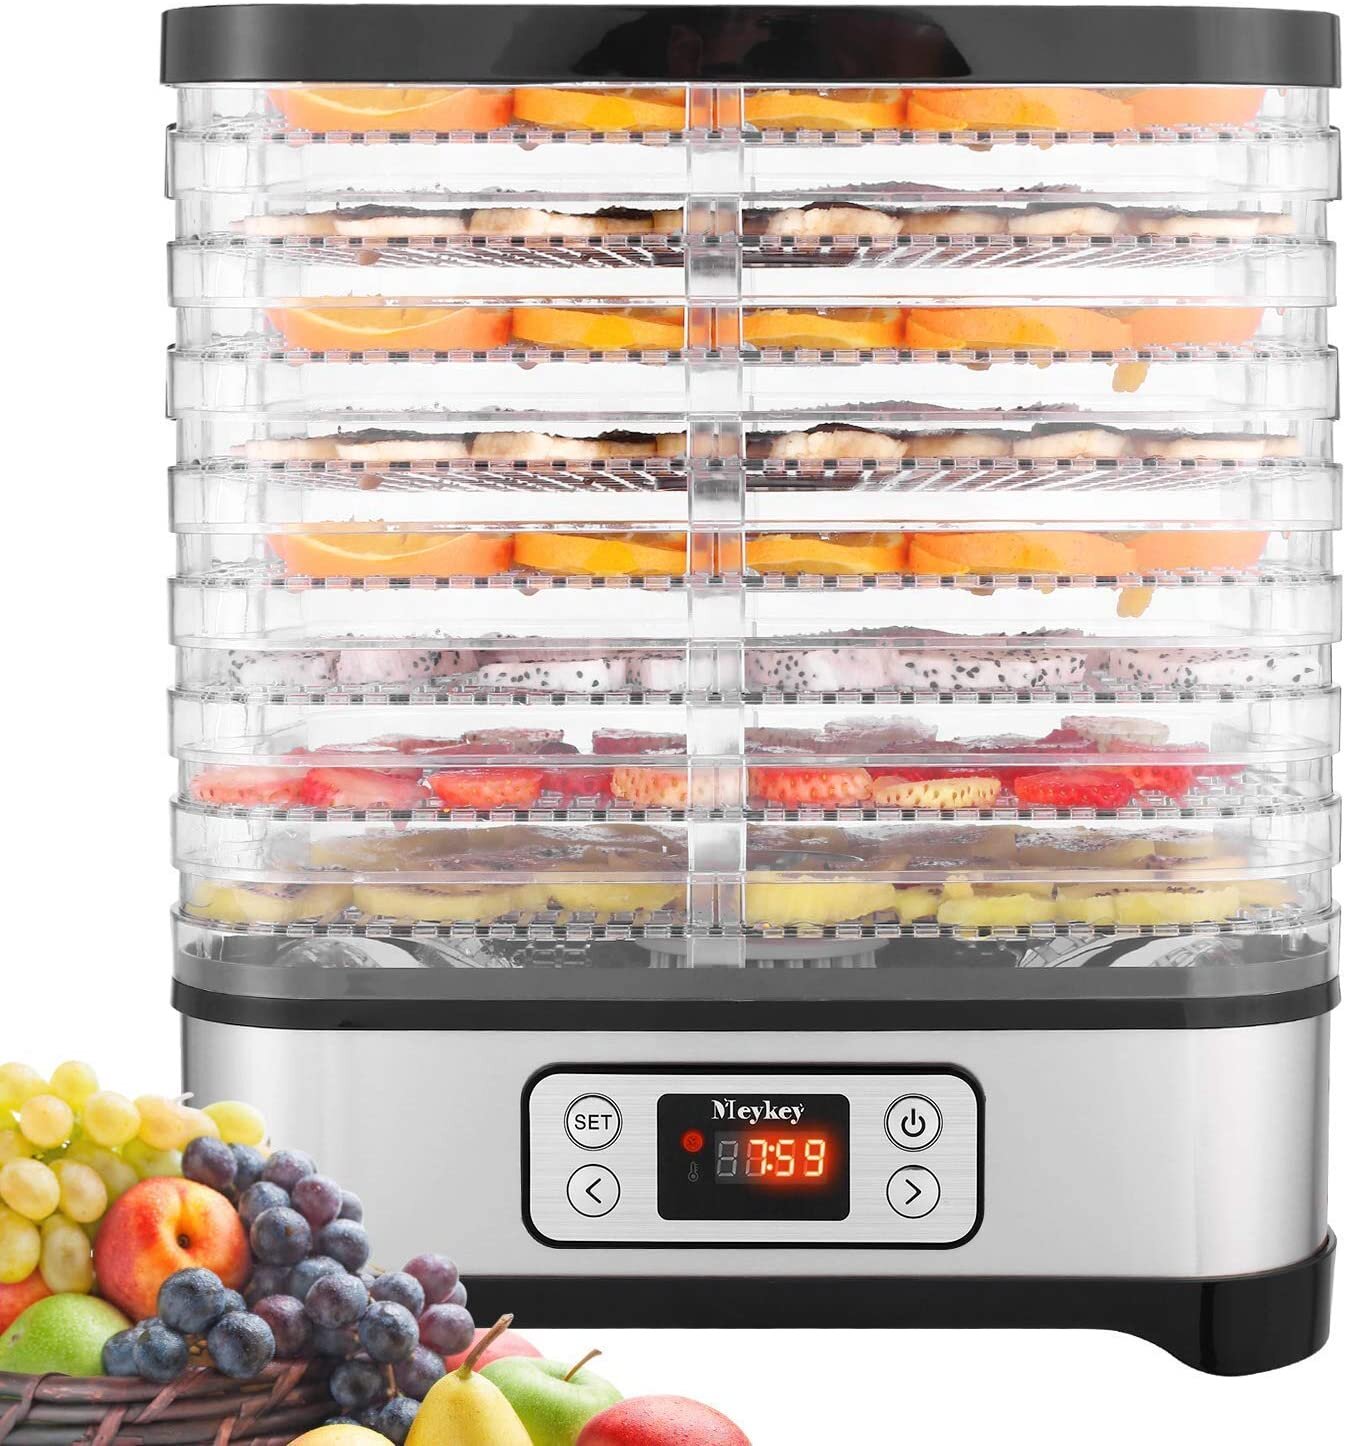
First on the list is a classic dehydrator that you have probably seen before from time to time.
These are the ones with a temperature/time control and transparent plastic shelves and lids. They’re perfect for dehydrator on a budget and do a bloody good job.
You can see straight through how well your fruit is dehydrating and these are the types that I have personally used the most given how budget friendly they are.
#2 6 Tray Commercial Dehydrator Machine

In comparison to that plastic model, we have these types. The commercial types. Anytime we see the word commercial we instantly think expensive, and although they are more expensive then the plastic dehydrators, they aren’t actually that pricey, which you can see for yourself here with this one.
As far as value for money goes this commercial dehydrator hits the spot perfectly. Perks of getting this type over others is that is will perfectly and most importantly, evenly, dehydrate your fruit. Looks wise, fruit that has been dehydrated in one of these looks perfect.
#3 Circle dehydrator

Next up we have the circular dehydrators, they work in much the same way as every other dehydrator. You can say the time for dehydrating cuts down due to the shape but personally I haven’t noticed that much time saved.
The reason I like these ones is because of the circle shape, you can generally fit more fruit in them. Perfect if you’re dehydrating in bigger batches, they also fit nicely from an aesthetic point of view.
#4 Excalibur 9-Tray Dehydrator
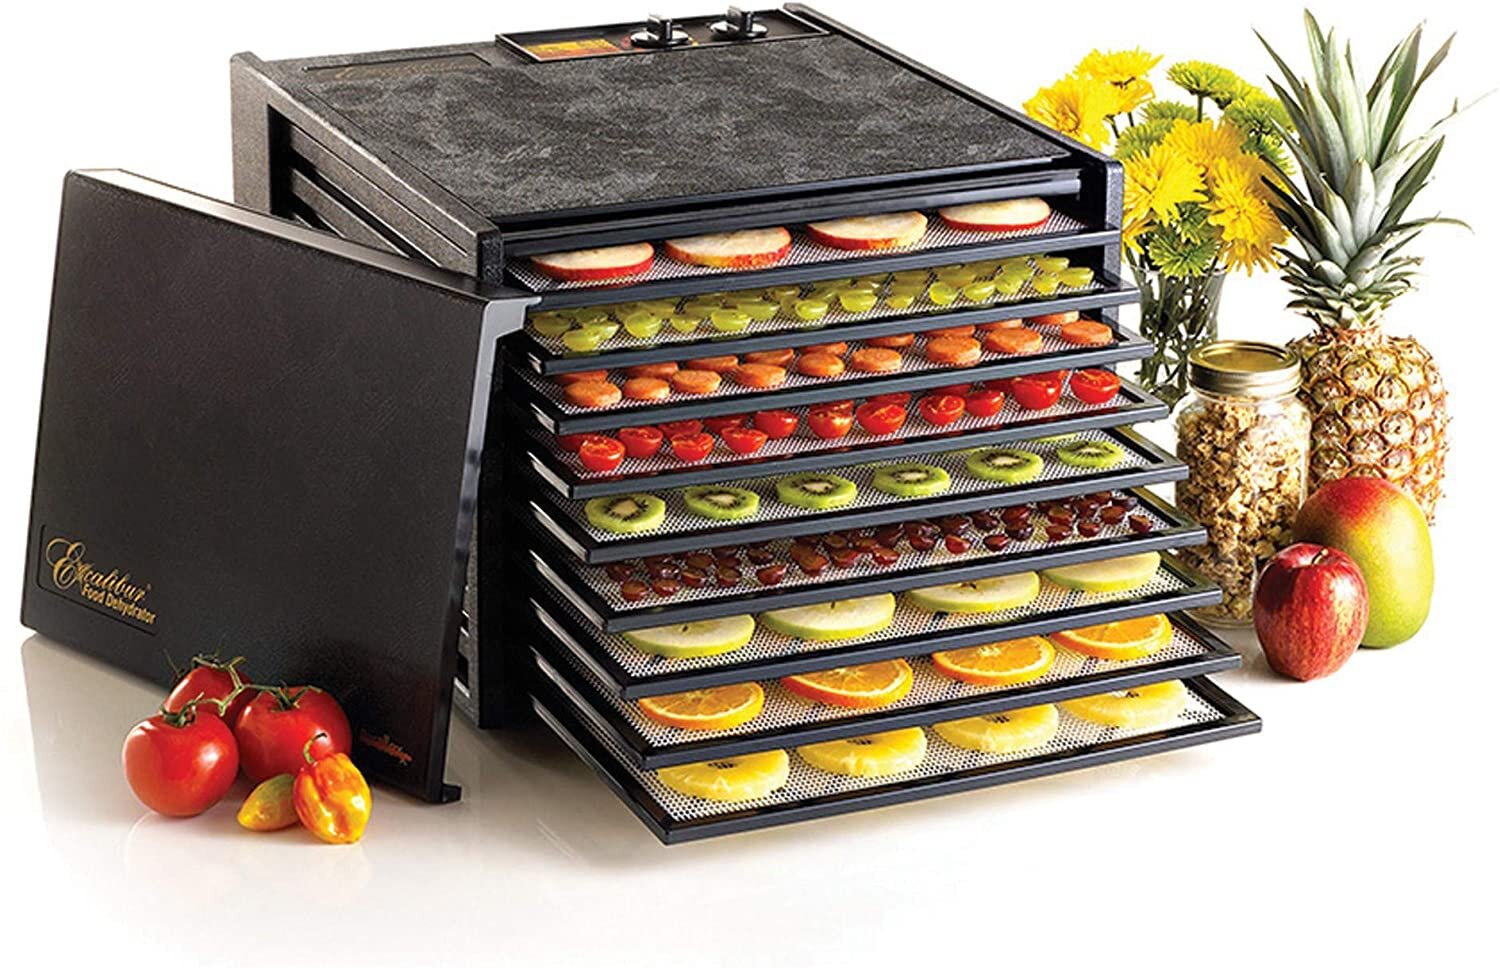
Back to the commercial dehydrators, this one is the Excalibur 9 tray. One of the best dehydrators on the market.
Sure, its noticeably more expensive then some of the others on this list but with that price comes massive value for money. Just look through the thousands of reviews on this. It’s not just a dehydrator for making pretty fruit wheels, you can dehydrate anything your mind can think of with this!
I personally know the power of this dehydrator well because it’s the exact one I use to work with in a previous bar job of mine.
The best dehydrator UK
#5 Sahara Foldable Food Dehydrator

Now we are at that point where I recommend the top 2 dehydrators, one for the Brits and one for Americans. These are the two dehydrators that bring in the highest reviews, look amazing and perform with absolute excellence.
First up is the top UK dehydrator which is the Sahara foldable food dehydrator. Stunning piece of tech which you can learn more about here.
The best dehydrator USA
#6 Tribest Digital Food Dehydrator
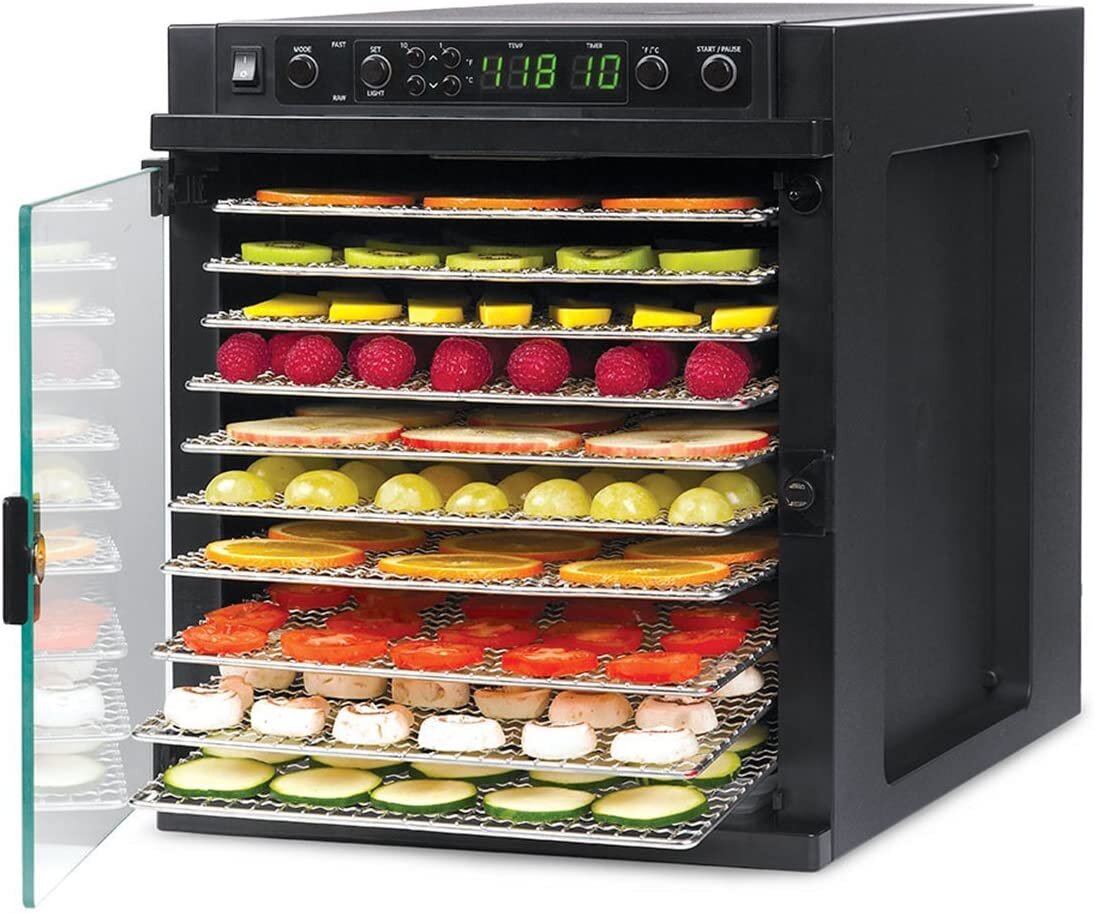
As for the USA we have the Tribest digital dehydrator. This piece of tech has the capacity to fit many foods in and has all kinds of controls to perfectly control your dehydrating. You can learn more about how this highly reviewed food dehydrator made the list here.
Using a dehydrator
When you first buy a dehydrator, if you didn’t read the instructions then it may seem very confusing depending on the level of detail or how advanced your dehydrator is.
Most only have a timer and a temperature gauge, so they’re rather simple to use.
When you first start playing around with the dehydrator and you start throwing in all sorts to see how they turn out the next day, you will soon realise how important it is too keep whatever your dehydrating at a consistent thickness or an even coating; for example, when making dried lemon wheels you will need to keep each wheel the same thickness or as similar as possible, because the temperature of the dehydrator and the time you keep them in there solely depends on how thick your fruit is.
The way that I find works for my wheels is cutting each slice at around half a centimetre thick and putting them in the dehydrator for around 9-10 hours at 50-55 degrees Celsius or 122 – 131 degrees Fahrenheit.

Depending on how you want your slices of fruit to turn out, the instructions I put in the above will allow them to turn a golden yellow and will not turn out sticky.
If you want them sticky so you can decorate them with a powder, take them out about 2 hours earlier. If you want the wheels to turn black for a better contrast in a cocktail/meal, then give them a day or so.
If I wanted my lemon wheels to turn out brittle I would use the same amount of time but crank the temperature on full. Having them brittle can help when making powders or a decorative flake.
Using an Oven Or Sun drying

When using your oven as a dehydrator its very similar to the first method but you may want to keep an eye on them depending on how low your oven goes.
With the same method of cutting up your fruit to a half centimetre, place them on a baking tray with some Grease proof paper and place the fruit evenly apart from each other.
Place the tray on the middle rack of your oven and leave for around 9 hours on a low heat setting.
If you live in a hot country or hot and dry climate then you can use mother nature to your advantage, but this is a little different than the other two methods.
When placing your substance in the sun for dehydration you want to keep in mind that insects may try to eat your drying fruits, also bacteria may form so boiling the fruit beforehand may help kill off any of the remaining bacteria. When using the sun, it could take a few days to fully dry out your substance, but it is free to do.
Tips for Dehydrating

When you dry out a piece of fruit you take away all the water that was subdued in the fruit leaving only the flavour of the fruit in a way it intensifies the flavour. This is a great way to infuse a flavour into something whether It being a strawberry vodka or some lemons in your water. Dehydrating fruit does also take away some vital vitamins though.
Use a blender to blend ingredients together, for example, strawberries and raspberries. Pour that mix onto grease proof paper, and it’ll dry to make edible leather.
As a side note, if you’re looking for the best blenders, I’ve covered the best ones for drinks here.
Drying out syrups will harden to make sweats, which you can break up to use as a garnish.
Understanding Dehydrators
How They Work
Let's start with the basics. Dehydrators work by removing moisture from food, preserving it naturally. They have a fan that circulates warm air, gently drying out your ingredients without cooking them. Think of it as a slow and steady process that locks in flavors and nutrients.
Types of Dehydrators
Stackable Tray Dehydrators: Great for beginners, these models have trays you can stack. Simple and effective.
Shelf Tray Dehydrators: More advanced, with a vertical flow system that ensures even drying across all trays.
Box Dehydrators: Large and powerful, these are for serious dehydrating enthusiasts.
When choosing, consider factors like size, cost, and the types of food you plan to dehydrate. The above list of top rated dehydrator recommendations has one for every one. Cheaper options and more professional options. So you should be able to find whatever dehydrator you’re after from that list.
Getting Started with Jerky
Selecting the Right Meat
For a killer jerky, choose lean cuts like flank steak or round roast. Trim off excess fat; we want jerky, not chewy fat!
Preparing the Meat
Slicing Techniques: Cut your meat against the grain for a tender chew. Aim for quarter-inch slices – thin enough to dry evenly, thick enough for flavor.
Marinades and Seasoning: Jerky is all about the flavor. Experiment with marinades using soy sauce, Worcestershire, and your favorite spices. Let it marinate for at least a few hours, if not overnight.
Loading the Dehydrator Trays
Spread out the marinated slices evenly on the trays, making sure there's enough space for air circulation. Overlapping is a no-no – we want each piece to get the love it deserves.
Setting Temperature and Time
For jerky, a temperature between 160°F to 165°F works magic. Set the time according to your dehydrator's manual – usually around 4 to 6 hours. Check periodically, and you'll know it's done when it's firm but still pliable.
Dehydrating Fruits
Choosing the Right Fruits
Go wild with your fruit choices – apples, bananas, strawberries, and more! Just make sure they're ripe and fresh for the best results.
Preparing Fruits
Peeling and Slicing Techniques: Peeling is optional, but slicing is key. Aim for consistent slices to ensure even drying.
Pre-Treatment Options: To prevent browning, a quick dip in lemon juice or a mixture of water and vitamin C does the trick.
Loading the Dehydrator Trays for Fruit
Lay out your prepared fruits evenly. Don't let them touch – personal space is crucial even for fruits.
Setting Temperature and Time for Fruit Dehydration
Fruits are gentler than meat, so a lower temperature around 135°F to 140°F is perfect. Depending on the fruit and thickness, it might take anywhere from 6 to 12 hours. Keep an eye on them, and you'll get the hang of it.
Tips for Successful Dehydration
Proper Spacing and Airflow
Ensure each slice or piece has its breathing room. Crowding leads to uneven drying and can extend the dehydration time.
Rotating Trays for Even Drying
To prevent a game of favorites, rotate trays during the process. Move the bottom tray to the top, and vice versa. It’s like a foodie carousel!
Monitoring the Dehydration Process
Keep an eye on your dehydrator, especially towards the end. Feel free to do a taste test to ensure everything is drying up just right.
Testing for Doneness
For jerky, bend it – it should crack but not break. Fruits should be leathery with no moisture when squeezed. Trust your instincts and taste buds.
Cleaning and Maintenance
Cleaning Dehydrator Trays and Components
Clean your trays after each use to avoid cross-contamination of flavors. Most trays are dishwasher safe, but handwashing ensures a longer lifespan.
Storage Tips for Dehydrators
Once done, store your goodies in airtight containers. Vacuum-sealed bags work wonders to keep that freshness intact.
Troubleshooting Common Issues
If things aren’t going as planned, consult your dehydrator manual. Google is also your friend – chances are someone has faced the same issue and found a solution.
Recipes and Inspiration
Basic Jerky Recipes for Beginners
Classic Beef Jerky: Marinade with soy sauce, Worcestershire, garlic, and black pepper.
Turkey Jerky: Try a marinade with apple cider vinegar, honey, and thyme for a unique twist.
Creative Fruit Dehydration Ideas
Cinnamon Apple Rings: Sprinkle apple rings with cinnamon before dehydrating.
Tropical Fruit Mix: Dehydrate pineapple, mango, and kiwi for a taste of the tropics.
Combining Jerky and Fruit in Unique Snacks
Create your trail mix by combining jerky and dehydrated fruits. It's a sweet and savory explosion in your mouth!
Conclusion
And there you have it – the ins and outs of using a dehydrator for jerky and fruit. Don’t be afraid to experiment, mix flavors, and make it your own. A dehydrator is a kitchen tool that unlocks a world of possibilities, and your taste buds will thank you for it. So, gear up, get dehydrating, and enjoy the delicious fruits (and jerky) of your labor!

Hi, I’m Cameron, guv’nor of Smartblend. If you liked this then you’re in luck, I have a bunch more guides like it. I share only vegetarian and pescatarian food recipes, cocktails, and drink guides with a sprinkling of wellness and mindful drinking. If that sounds like you, then stick around!


Smartblend is a participant in the Amazon Services LLC Associates Program, an affiliate advertising program designed to provide a means for sites to earn advertising fees by advertising and linking to amazon.co.uk and amazon.com. Smartblend does earn a small commission on goods purchased through the included links. Don't worry, it doesn't cost you any more, but we do appreciate your referral!